


Open shelves are honest. There is nowhere to hide a tangle of chargers, a stack of unread post or the novelty mug you never really liked. That honesty is exactly why they look so good when they are done well, and so tiring when they are not.
The answer is not owning less, or having a bigger wall. It is a sequence. Work through these five steps in order and you will finish with shelves that read as a composition rather than a storage unit — and that stay that way without being rearranged every weekend.
Step 1: Empty the Shelves Completely
Take everything off. All of it. Wipe the boards, then look at the empty structure for a minute before you put a single thing back. You are checking two things: how many shelves you actually have, and where the light falls across them.
Now bring pieces back one at a time and be strict. Open shelving exposes everything to view, so anything visually noisy — a tangle of cables, mismatched plastic containers, a half-finished craft project — belongs behind a closed door. The same goes for objects you keep only because someone gave them to you.
A quick filter for what comes back
- Useful and good-looking: everyday bowls, a favourite jug, the cookbooks you cook from.
- Good-looking but rarely used: a sculptural vase, a small framed print, a nice ceramic dish.
- Useful but ugly: put it in a cupboard, or contain it in a plain box or basket.
- Neither: donate it. It is taking up prime real estate.
Step 2: Give Each Shelf One Anchor
Every shelf needs a starting point — one object large enough to hold the eye, usually a third to a half of the shelf height. A wide ceramic vase, a leaning framed print, a generous woven basket, a stack of four art books, a big glass jar of dried pasta in a kitchen.
Place the anchor off-centre, roughly a third of the way in from one side. Dead centre looks formal and static; the outer corners look like they are about to fall off. Then add supporting pieces at smaller scale — nothing that competes with the anchor, and nothing taller than it.
If a shelf has no obvious anchor, it often does not need to be a styled shelf at all. A run of cookbooks or a row of plain storage baskets is a perfectly good answer, and it gives the eye a rest between the busier shelves.
Step 3: Group in Threes and Vary the Heights
Single objects floating alone look lost. Groups of odd numbers — three, five — look settled. So build small clusters: three small ceramics, a vase with two candlesticks, a bowl with a stack of coasters beside it.
Height matters as much as number. Avoid the staircase effect, where each object is slightly taller than the last; it reads as a display of trophies. Instead, jump: tall, low, medium. And resist the urge to space things evenly. Even spacing is the fastest way to make a shelf look like a waiting room. Let some pieces sit close enough to nearly touch, then leave a real gap before the next group.
Step 4: Use Books as Structure, Not Storage
Books are the most forgiving styling tool you own, because they are flat, stackable and come in repeating shapes. Use them deliberately.
Horizontal stacks of three to five make excellent pedestals — put a small bowl or a candle on top and you have instantly raised an object to a more interesting height. Vertical runs create blocks of colour and are ideal for a shelf of cookbooks or novels you actually reread. Turn a few spines inward only if the covers are plain and you like the neutral look; otherwise, mixed spines add warmth and reality.
Keep vertical runs to one or two shelves in the whole unit, and break each run with a horizontal stack or a small object in front. A wall of nothing but upright books is a library, not a styled shelf.
Step 5: Treat Negative Space as a Design Element
One good object with air around it will always beat five average ones pressed together.
Empty space is the hardest part to get right, because every gap feels like an invitation to put something there. Aim to leave roughly a third of each shelf clear, and allow at least a hand's width of space above the tallest object. That gap is what makes a shelf read as calm.
Vary the emptiness as well as the objects. If two shelves are full, let the third hold a single vase and nothing else. Rhythm comes from contrast: dense, open, dense. If you get to the end and something feels off, the fix is almost always to remove one item rather than add one.
The Checklist, Condensed
- Empty every shelf, edit hard, and only return what earns its place.
- Give each shelf one anchor object, placed off-centre.
- Build clusters in odd numbers and jump between heights.
- Use books as pedestals and colour blocks, not stacked storage.
- Leave about a third of each shelf empty, and vary the density shelf to shelf.
Living With Open Shelves
Styling is the easy part; the discipline is keeping it. Two habits do most of the work.
First, one thing in, one thing out. When a new bowl or candle arrives, something leaves — whether that means the donation bag or the cupboard. Second, do a two-minute reset whenever you dust, which on open shelves is more often than you would like. Put stray items back in their clusters rather than wherever there is room.
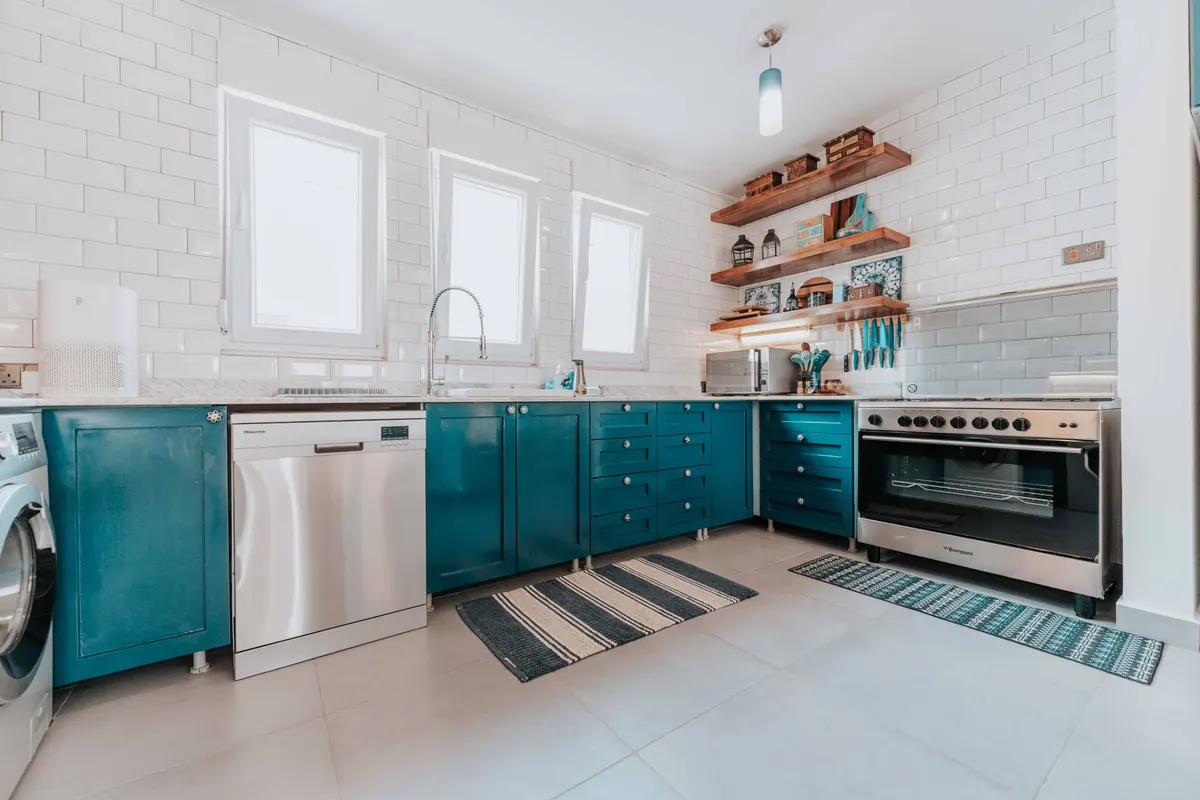
In a kitchen, be realistic about grease and steam. Keep only what you use weekly on open shelves, and put the rest behind doors. Elsewhere, swap a few pieces with the seasons: a dried arrangement for fresh greenery, heavier ceramics for lighter glass in summer. Small changes keep the arrangement feeling intentional rather than frozen.
Finally, remember that shelves are meant to hold your things, not to pass an inspection. A little imperfection — a book left slightly askew, a bowl that does not match — is what stops a styled shelf from looking like a shop display. Get the structure right, and the rest can be lived in.
Photo: Keegan Checks / Pexels
Related posts
More stories you’ll love reading